|
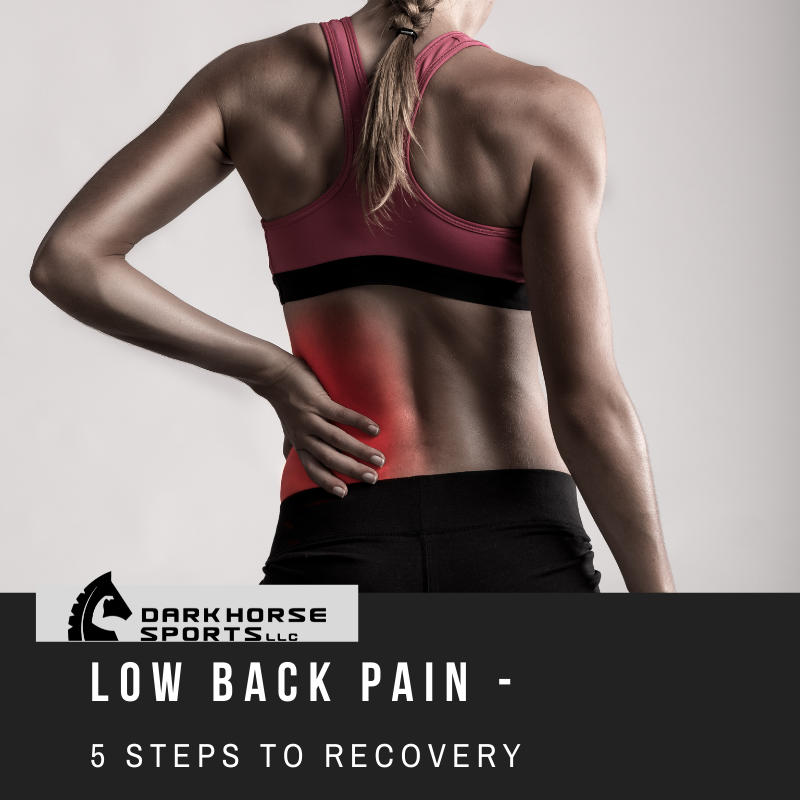
Low Back Pain… Few things can be so crippling. Just the thought of it makes you flinch. Whether you've completely thrown your back out, just tweaked it, or have a nagging ache this will help you. There are many causes of back pain, But for the most part the common culprit is tight hamstrings, glutes, and hips. So let's stop talking about pain and start getting you out of it. Step 1: Get out of Pain The first step is to get out of pain. This is an important step. Aside from the obvious benefits we need to neutralize the brain. If we keep triggering pain then the brain causes the muscles around your back to tense and tighten up. This only aggravates the situation. We need to let the brain know that everything is ok. We can do this by finding a neutral position for the low back. Almost always this is a 90/90 supine position. Lay on your back with knees bent and feet up on the bed or the wall and breath using your diaphragm. In and out real slow and relaxed. Your body will form several 90 degree angles that deload the low back. Destress and decompress your spine. Enjoy this. Relax. Step 2: Brace Now that you are out of pain you can practice bracing. Remember we need to convince the brain that we are in control and that the spine is safe. The way to that is to learn how to brace. Use the skill of diaphragmatic or belly breathing to collect air, then hold it in and around your spine and while bracing or tightening the core muscles. Similar to when you cough or tighten up for a gut punch. The key is to now apply this bracing to all the positions that we are in. Especially the positions that trigger pain! Such as getting up, sitting down, or bending. Step 3: Stretch Once you can properly brace and let the body move without pain, it's time to stretch those tight muscles that are pulling on the low back. The hamstrings and hip flexors are usually culprits. So were including 2 drills that will help. 1 for the Hamstrings, and 1 for the Hip flexors. Floor Twist Progression This progression will involve actively stretching or flossing the hamstring in the areas that affect or pull on the low back. Flossing the hamstring can be very annoying, but the rewards are well worth it. Then moving on in the progression we incorporate the core to control the spine through rotational movement. Hip Flexor Stretch We are all sitting. A LOT! This can have many negative downstream effects on our body, movement and ultimately pain. For the front musculature attached to the hip, a hip flexor stretch can relieve some tension that has accumulated from sitting. For the front musculature attached to the hip, a hip flexor stretch can relieve some tension that has accumulated from sitting. Step 4: Stabilize Ok time to activate your core and learn how to use it to stablize your body and especially your low back. The core is at the center or core of your body. Duh. Why do we mention this? The job of the core is to connect the upper body and lower body together. It needs to be that strong force. But if it's not strong enough then the low back or other muscles have to pitch in and do work they aren't designed to do. In order to strengthen the core well be using 2 exercises. McGill Side Plank We really like this one for low back pain. We don’t always think about the “side” of our core. We think about the front. But this exercise is super effective. One think to watch out for though is to make sure that our elbow is stalked, straight under the shoulder. Not slanted out where the shoulder joint would not be safe. Bird Dog The Bird Dog is an excellent exercise to start "transferring" your core stability , or applying it to control your body. As we mentioned earlier the core is at the center. So now we get the chance to connect and integrate the upper body and the lower body together. There are 3 levels to this: Level 1 - Arms Only Level 2 - Legs Only Level 3 - Both Arms & Legs Step 5: Strengthen Were finally to the final step. Actually getting stronger. It’s time to strengthen the muscles around the low back so that we minimize reinjuring the low back again! We need to make sure that primarily the Glutes are pulling their weight as the biggest muscle in the body. And we can use some specific exercises to accomplish this. One thing to note here is make sure you are able to move pain free and have spent enough time and reps executing the previous steps above. Cat / Camel One good gage of pain free movement is this mobility exercise. The Cat / Camel not only assesses the whole low back and hip area but “grooves” the muscles for the harder exercises youll do later. Think of it as a Warmup movement. Again, make sure you can move through the range of motion without pain. If you do have pain, go back and practice the steps outlined above. Glute Bridge If you want to “isolate” the glutes, and not put a risky load on the low back (or knees for that matter), then the Glute Bridge is your go to exercise to strengthen your biggest muscle. Remember the objective here. Feel the Glutes. NOT the low back. You want your big powerful glutes to support and take the brunt of movement instead of your low back. Ensuring your glutes are active and strong will transfer the responsibility from your low back to the hips. After All thats what they were designed to do! Reverse Hyper (Optional) If you don't have access to a real training facility, you can stop at the Glute Bridge and have wonderful results. However if you want to go for extra credit give this home version of the Reverse Hyper a try. The real version that is done on an actual Reverse Hyper Machine is undoubtedly effective at healing a low back. In fact the machine and exercise were invented specifically for that reason. It is a staple in any respectable powerlifting or strength gym. But you may not have access to that. So we have included this version for you. If you are not able to feel it exactly or you just seem uncomfortable at it that's ok. If you've gotten this far, your low back is more than happy with you. Although we covered a lot of basics and corrections for low back pain there is one other topic that we need to mention. Anterior Pelvic Tilt Anterior Pelvic Tilt (APT) is more of a chronic postural syndrome that is closely related to all of what we already discussed above. However what makes it unique is that it's the posture that many people "live in'. So unlike a low back injury where you might lift something awkwardly, or get your back tweaked from an incident, APT is more of a constant postural attribute. APT is the big "Why" or Root Cause of Low Back Injury. As you may expect in many cases APT is the big "Why" you got a back injury in the first place. If we live in APT we will be much more likely to have more frequent injuries. So fixing this will really be a root cause solution for many. As you will see in the video below, the fix dovetails nicely and builds on the principles of aligning the hips, and correcting the muscle weakness, or imbalances in the core, Anterior Hip Flexors/ Quads) and Posterior (Glutes, Hams). Anterior Pelvic Tilt Corrective Workout - Complete 3 rounds 1-3x day
Conclusion Low back pain is a much dreaded injury. But it doesn't have to be the end of the world. You can get out of pain and you can become strong and resilient. Knowing the root cause behind chronic low back pain can be the first step to eliminating it. There are many ways to over come this painful issue. We have many tools that can help you fix low back pain for good or at least minimize it. This article is just one of those tools. If you are interested in a faster way to identify, treat, and relive low back or any other joint or muscle pain you may have please fill out the Contact Page and reach out to us. Being in pain is no way to live. Please, if you or someone you know is in pain, reach out to us for help. Cheers!
0 Comments
Leave a Reply. |
Archives
November 2023
|
Services |
Company |
|
|
© COPYRIGHT 2015. ALL RIGHTS RESERVED.
|
Website by My Personal Trainer Website
|


 RSS Feed


